Large Format at Hungarian Falls
One of my favorite things to photograph is waterfalls, and I'm lucky enough to live in Michigan's Upper Peninsula where there are hundreds and hundreds of waterfalls. Fortunately, the Hungarian Falls Nature Area is just up the road from me, so it's one of my most frequented places to capture waterfalls images. Once I started photographing with large format 4x5 film last year, it was only a matter of time until I visited one of my favorite locations.
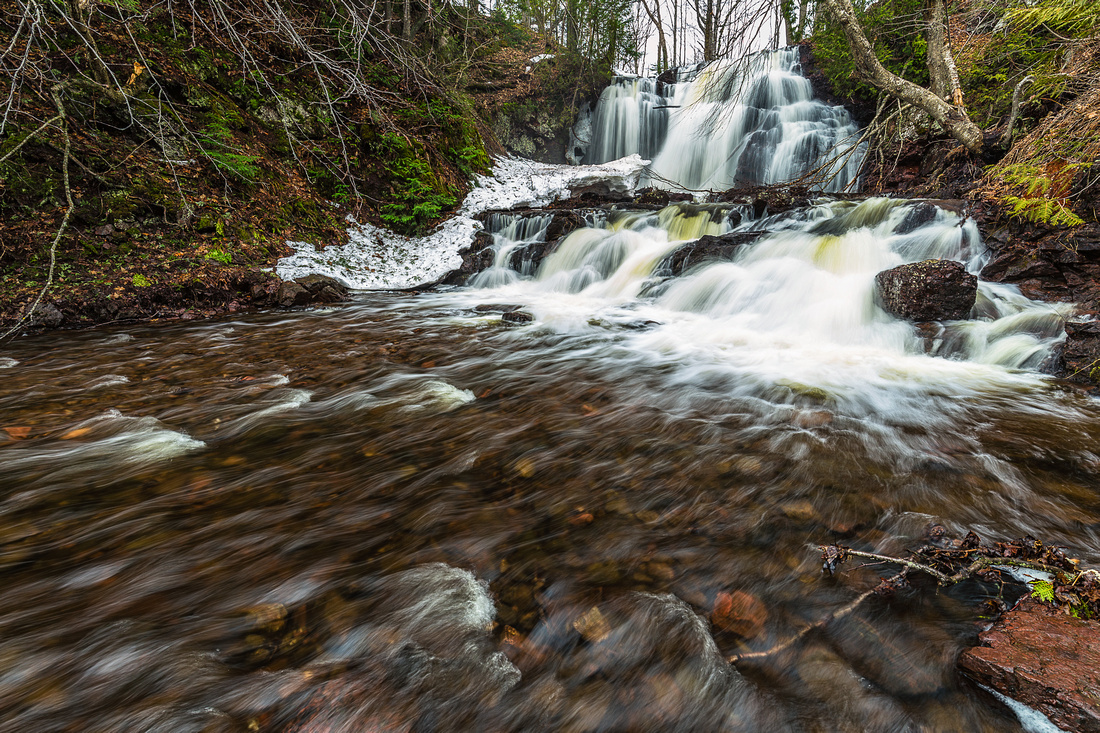
A late arriving winter in 2020 meant I was able to visit Hungarian Falls in early December before the deep snow came and the waterfalls froze over. We did have some snow on the ground to provide a nice covering, and the falls were starting to freeze up as winter began to set in. Luckily there were nice ice formations in the pool below Middle Hungarian Falls to provide some foreground interest.
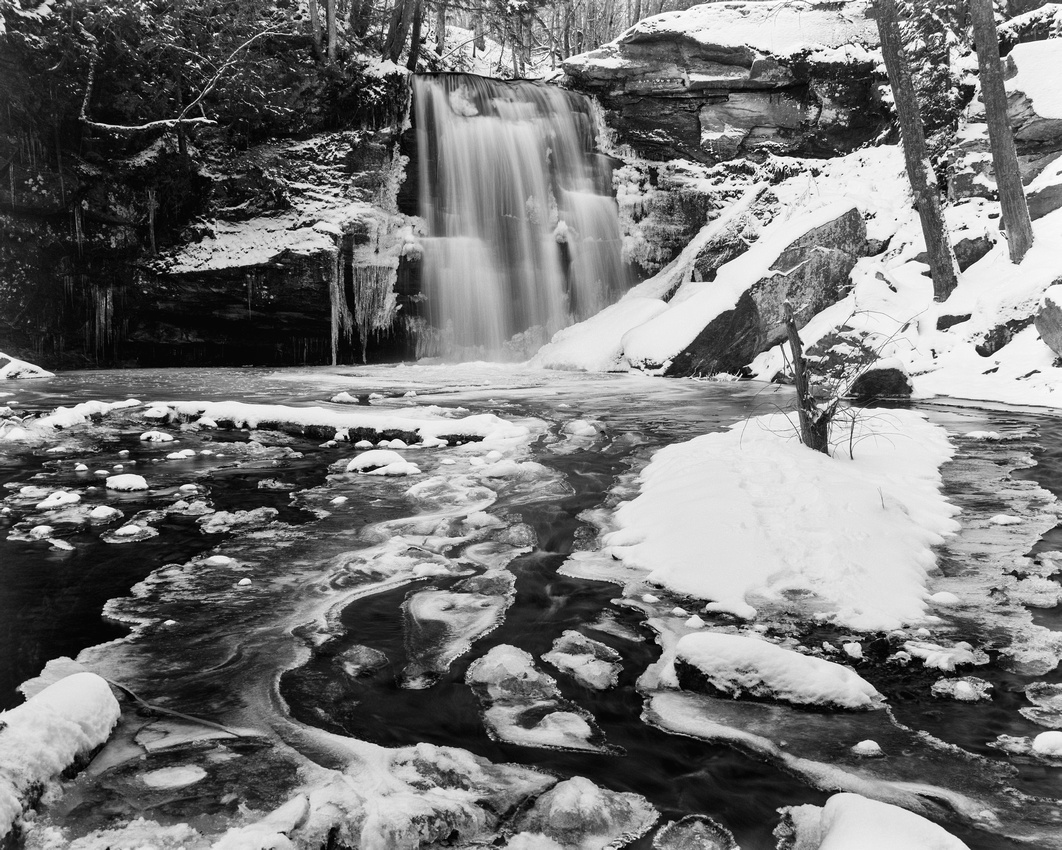
Middle Hungarian Falls
Toyo 45AII, Schneider-Kreuznach Symmar 135mm lens with a polarizer, 1 second at f32, Ilford Delta 100, developed in D76 1:1.
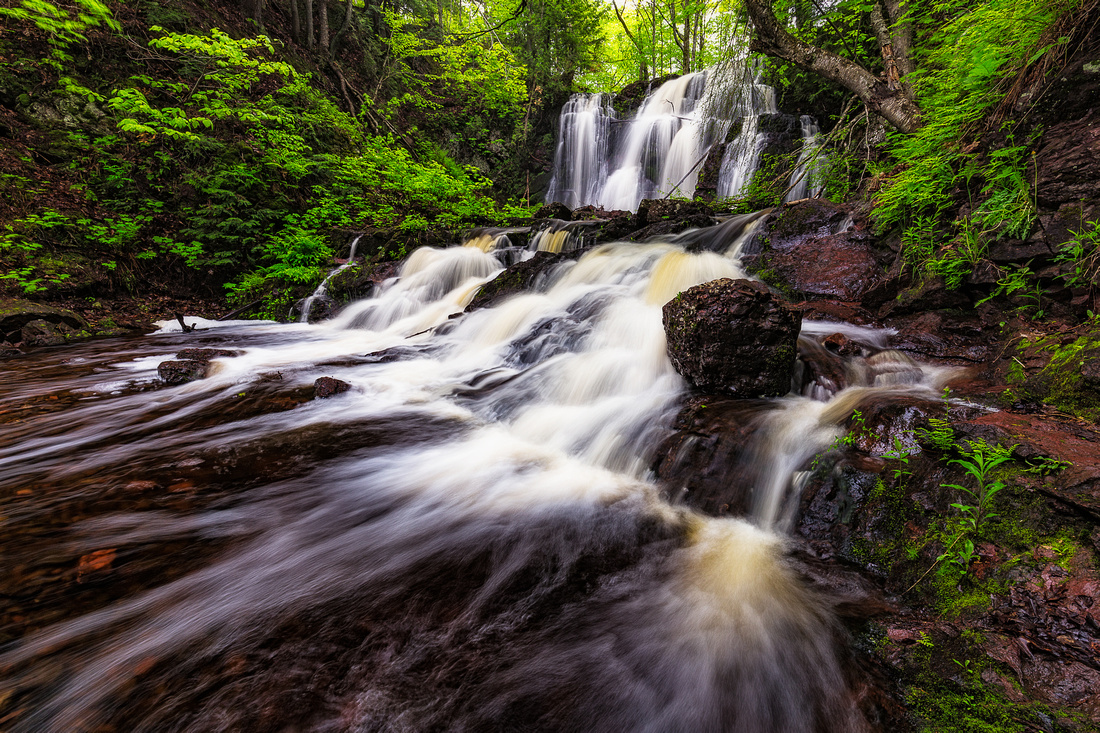
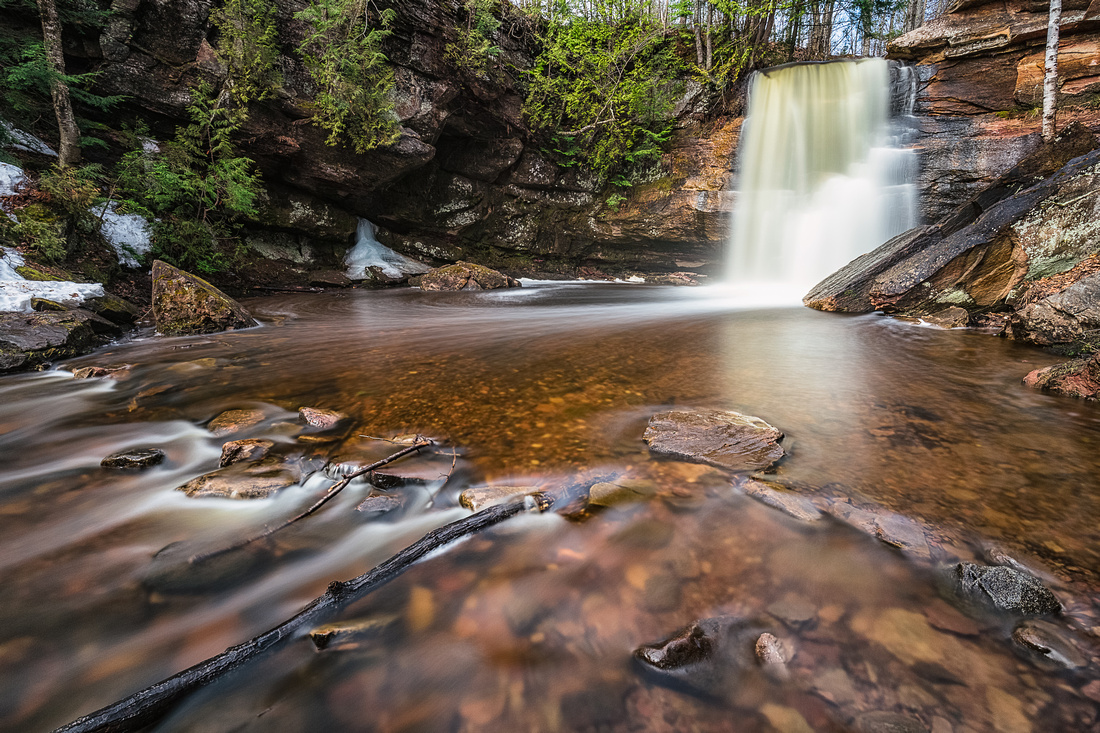
Recently, in the Spring of 2021, I visited Upper Hungarian Falls. I waited until late May for the Spring foliage to arrive and until we had some decent rainfall so the falls were flowing nicely. It also happened to be a cool 40 degree morning which meant the mosquitos weren't the nuisance they can be this time of year.
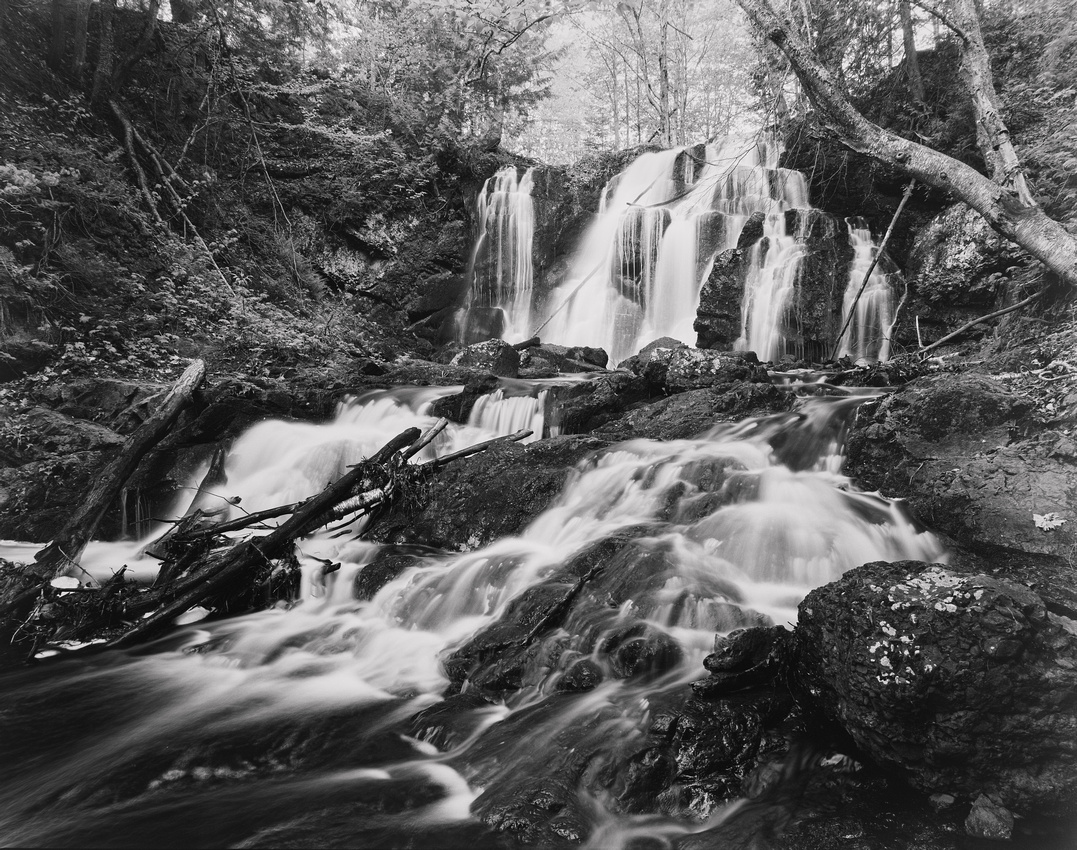
Upper Hungarian Falls
Toyo 45AII, Fujinon SW 90mm lens with polarizer, 4 seconds at f32, Ilford Delta 100, developed in ID-11 1:1.
Before leaving, I stopped by Middle Hungarian Falls for a composition I had in mind. Along the upper bank of the river near the middle falls is a large White Pine tree that acts as a natural frame of the waterfall. I've photographed the middle falls from this spot before and it makes for an interesting and unique image.
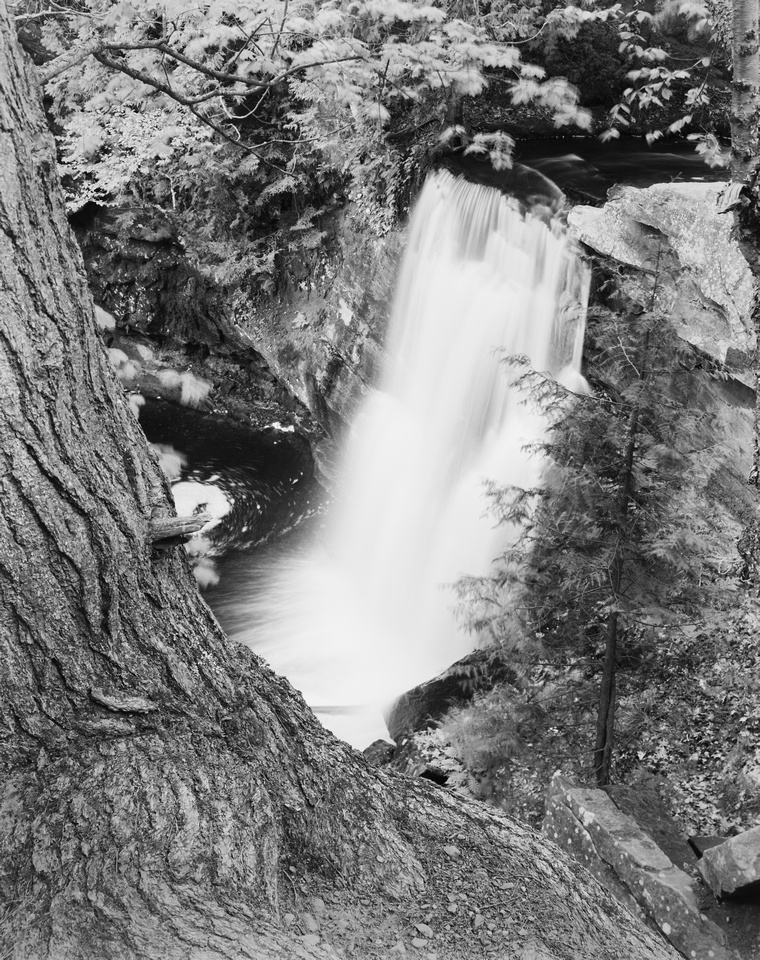
Middle Hungarian Falls, from above
Toyo 45AII, Fujinon CM-W 150mm lens, 2 seconds at f45, Ilford Delta 100, developed in ID-11 1:1.
Going Analog in a Digital Age - Large Format Photography
In 2020 I decided to take the plunge and get a large format 4x5 film camera. Film photography seems to be going through a bit of a resurgence right now, and I suppose I've been caught up in it, but it's something that's always been intriguing to me, but also intimidating at the same time. This is not meant to be a comprehensive guide to large format, but rather some of my general thoughts and observations after doing it.
Making a film image is a very deliberate and slow process, with many chances along the way to make mistakes that can't be fixed. Setting up and taking the shot is very much process driven. This deliberate nature of large format appeals to me because it forces you to slow down and really focus on your composition, lighting and settings. Those are things that can only make you a better photographer. On the other hand, this process presents many opportunities for mistakes and with 4x5 sheet film not being cheap, that's something that gave me pause. It turns out my apprehension was misguided and I quickly gained confidence in the process after a few images. It's fairly straight-forward and intuitive to any photographer but does require your full attention to avoid simple mistakes.

My large format camera - a Toyo Field 45AII, shown with a Schneider Kreuznach Symmar-S 210mm f5.6 lens. Photo by Tom Spurr.
I started out by shooting black and white film because I got a box of expired Ilford Delta 100 and Fomapan 400 included with the camera. Since black and white film is easier to develop than color negative or slide film and I was using expired film, I decided to try developing it myself. Developing film was another area that gave me pause because it seemed complicated with chemicals involved and being yet another step along the way to make a mistake. I don't have access to a darkroom nor the space to build one, so I knew I would have use a tank development system. After some research, I decided that the SP-445 processing system by Stearman Press was the way to go. It's relatively inexpensive and uses very little solution making it quite economical. Much like taking the image, developing the film is also a process. It's very much like following a recipe with a set order of chemicals, temperature and time to follow, with allowance for variations. I've found the SP-445 very easy to use and have had good results so far with my own developing.
So now I have my film negative - what's next? Since I don't have access to a darkroom, I can't make prints. That leaves scanning to get a digital version of the negative. Instead of purchasing an expensive Epson scanner for scanning large format film, I decided to try DSLR scanning since I can just use my digital camera. I use my Panasonic S1 mirrorless camera on my tripod pointed down at a lightpad to take a picture of the negative. A copy stand would be better to use, but I don't have one. One of the keys to DSLR scanning is to have the film negative elevated and held flat above the light source. I found a great product called the pixl-latr that holds the film and diffuses the backlight to allow for easy digitizing.
There's no better time than now to get into large format film photography. There's a wealth of knowledge and videos online to learn from and used equipment is plentiful, though prices have been going up with the renewed interest. The UK company Intrepid Camera provides an inexpensive option for those looking for a new camera. Tank development systems by companies like Stearman Press and Jobo makes home development easy without the need for a darkroom, and products like the pixl-latr make digital scanning easy without a dedicated scanner.
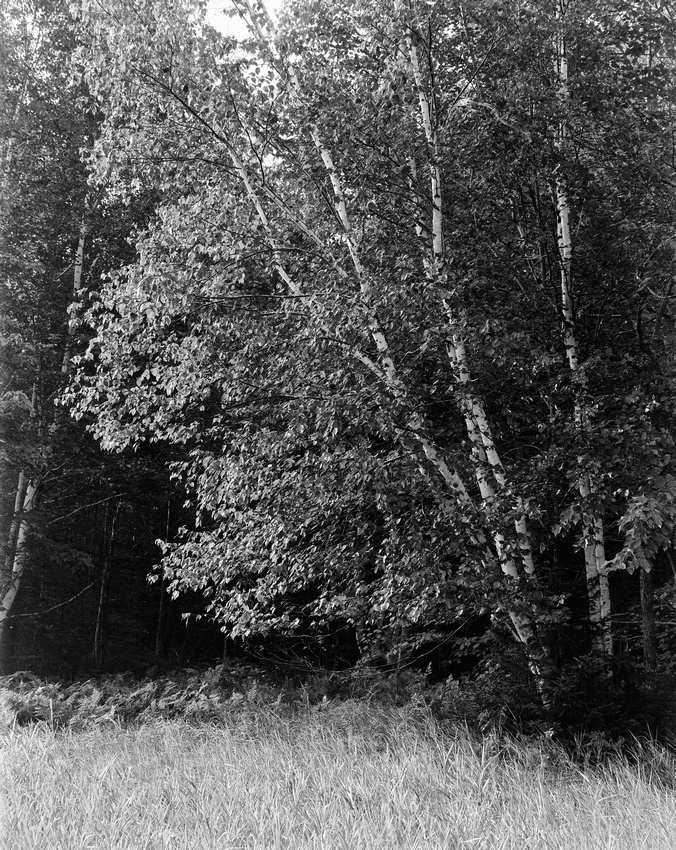
My first 4x5 image, a birch tree in the morning sun in early Autumn.
Toyo 45 AII. Schneider Kreuznach Symmar-S f5.6 lens. F22 at 1/8s. Ilford Delta 100 film developed in Kodak D76 1:1.
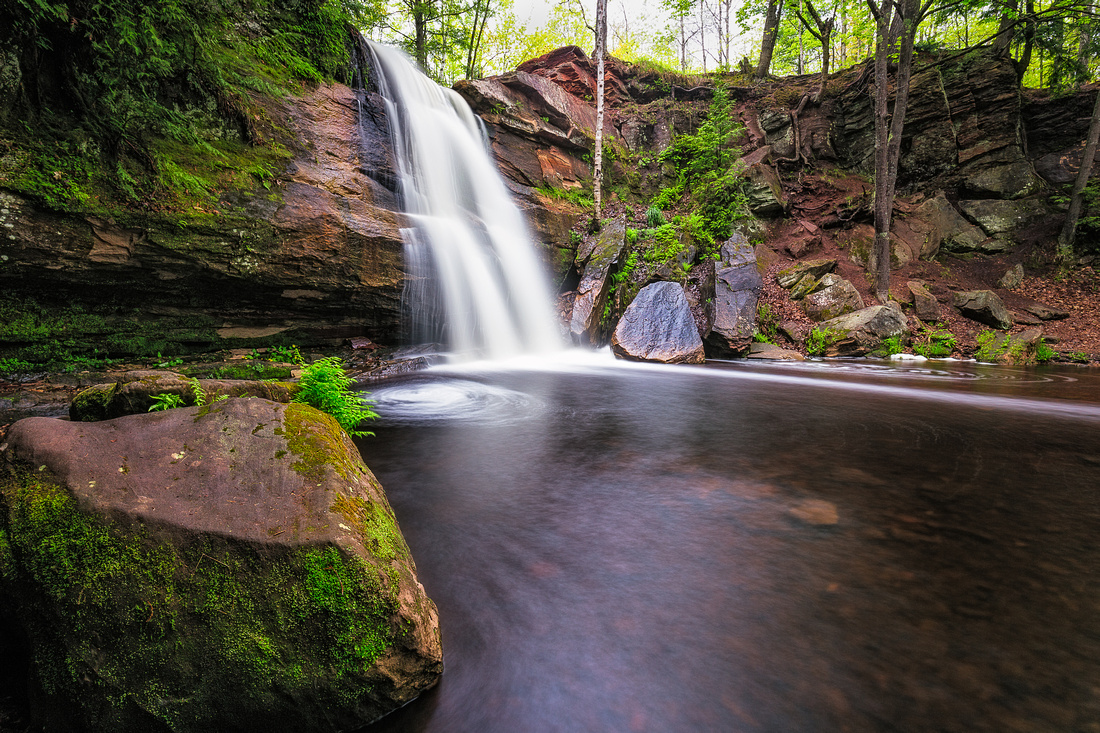
Wyandotte Falls - A Hidden Gem in the Copper Country.
Wyandotte Falls is tucked away on the Misery River in Twin Lakes, less than a mile from M26. It seems to be one of the lesser known waterfalls in the area, probably because it's not near any other popular waterfalls and can be somewhat seasonal. The Misery River flows out of Lake Roland, one of the Twin Lakes, and eventually makes its way to Lake Superior. Before reaching the forested area where the waterfall is, the Misery River moves slowly through a wetland area with several small ponds. The size of the waterfall is very dependent upon ample precipitation or snow melt. In dry summer months, it can dry up to barely a trickle.
Getting to Wyandotte Falls is very easy. From M26, turn west onto Poyhonen Road. Going past the golf course, the black top will end. Travel another 275 yards and there will be a small area to park on the left side. Follow the well worn path through the forest along the river to the falls. The hike takes 5-10 minutes and the river provides several photographic opportunities along the way.
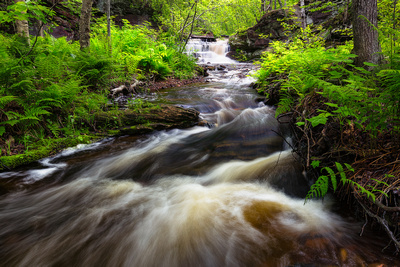
 The Misery River along the path to Wyandotte Falls
Reviewing Sleeklens Lightroom Presets
I was recently contacted by Sleeklens.com, a Denmark-based company that creates custom Lightroom Presets and Photoshop Actions, to see if I was interested in trying out their landscape photography presets for Lightroom. They offered me the Through The Woods Lightroom landscape bundle free of charge in exchange for doing an honest review in a blog post. I usually try to keep my post-processing relatively simple and faithful to the scene I photographed. I start with general adjustments using Lightroom before using Photoshop to make more targeted adjustments with Nik Collection's Color Efex Pro 4. I decided this was a good opportunity to try something different so I took them up on their offer.
The Through The Woods landscape bundle contains 51 presets and 30 brushes. Sleeklens emails you a zip file with folders containing those presets and brushes, along with documentation with simple to follow directions. They provide links to helpful youtube videos showing how to install the presets and brushes, along with many other helpful videos demonstrating how to use or stack various presets. After watching two of the videos, installing the presets and brushes was easy.
The way Sleeklens presets work is they apply previously saved adjustments to your photo with one simple click of the mouse. There are 12 all in one presets that make adjustments to the highlights, shadows, the colors and their tones. The remaining presets make more targeted adjustments to further refine the exposure, colors, tones, contrast, clarity and sharpening. The presets can be stacked on top of one another to get the desired effect. After applying a preset you can also make small adjustments using the sliders in the various panels in the Develop Module. Combining presets with your own adjustments makes it easy to get just the look that you want.
In addition to the presets, you can make adjustments using brushes. The brushes work with the Adjustment Brush tool as well as the Graduated Filter tool. You can choose from 30 brushes to load into the Adjustment Brush tool, with which you can paint the adjustments onto specific areas of your image. Similarly, you can choose from the 30 different adjustments and apply them to your Graduated Filter. As with the presets, you can adjust the sliders to add more or less or an effect.
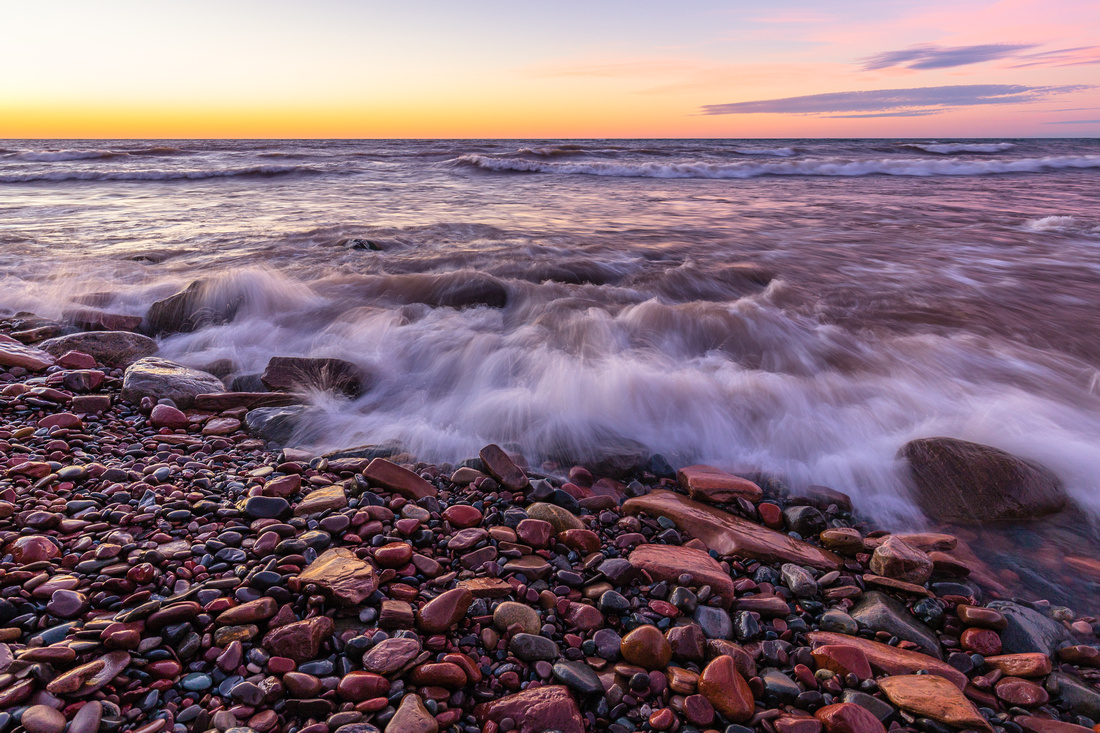
Lightroom presets can be very useful if you just want to make some quick edits to your photo or if you're not sure what edits you want to make to a photo. The photo below was taken at McLain State Park in Michigan's Upper Peninsula. It was taken just after sunset so there was still quite a bit of light left and some nice colors in the sky. The photo on the left is the RAW image straight out of the camera. The photo on the right is my initial edit of the photo. I enhanced the colors in the sky and made a few other edits, including cropping the bottom. I chose this photo to demonstrate the Sleeklens presets because I wasn't quite happy with the end result , but wasn't sure what more to do. After trying out some of the presets, I was surprised at the changes in the photo.

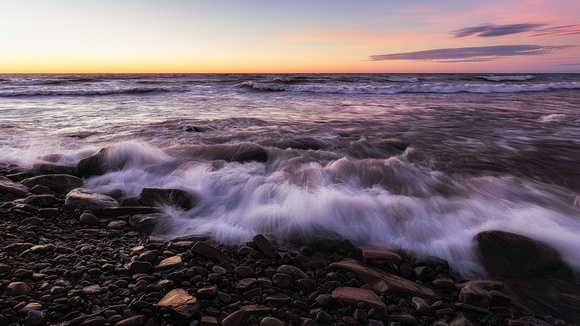
The photo below is the result of combining four of the Sleeklens Lightroom presets. I initially tried a couple different base presets, but was surprised to see the amount of color that appeared in the rocks after applying the High Dynamic Range preset. I went on to adjust the exposure, add a bit of warming to the tones and turned down the clarity to give the waves a softer look. I also used the Graduated Filter to slightly lower the exposure in the sky while adding a bit of clarity. I liked the color brought out of the rocks so much I decided not to crop the photo.
After experimenting with Sleeklens presets on a few different images, I was pleased with the results. They give you a variety of options and they're quick and easy to use. Some of the presets maybe go a little too far with the adjustments for my liking, but you can easily scale them back using the sliders. In addition to being a powerful Library tool, Lightroom is a powerful editing tool. Sleeklens allows you to make those edits quickly and easily in addition to quickly experimenting with different looks to your photo. If this sounds like something that can help with your post-processing or even get you started in RAW file editing if you don't know where to begin, then Sleeklens Lightroom presets are highly recommended.
I would like to thank Sleeklens for providing me with the opportunity to review their product. The landscape presets and presets for many other types of photography are available at their website, Sleeklens Lightroom Presets. They also offer Professional Photo Editing services.
Hungarian Falls Nature Area
Middle Hungarian Falls
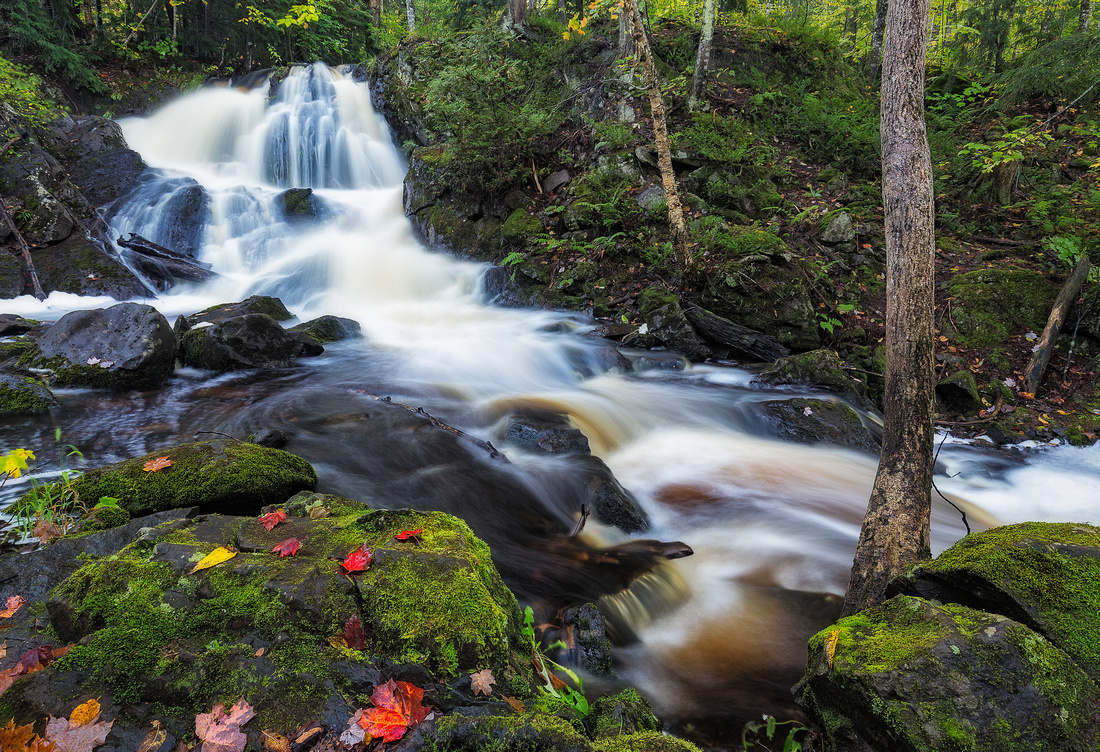
In the heart of Michigan's Keweenaw Peninsula is the Hungarian Falls Nature Area. It's one of the most popular waterfall destinations in the Keweenaw area, attracting locals, college students and tourists alike. The small and somewhat seasonal Dover Creek runs through the area, creating the three main waterfalls with some smaller drops in between. Upper and Middle Hungarian Falls are easily accessible with numerous paths on both sides of the creek. There is a bit of steep path going down the bank at the upper and middle drops if you want to get right down to the creek. The lower falls is the most impressive of all of the three drops with a drop of 50 to 60 feet. However, with no trail, only the most adventurous are willing to scale down the steep and slippery walls of the gorge.
Hungarian Falls is best visited in spring or early in the summer after heavy rainfalls. The Dover Creek has a small watershed and later in the summer the creek can dry up to just a trickle if there hasn't been substantial rainfall. To get to Hungarian Falls, turn West on 6th Street in Hubbell, take the left onto Golf Course Road up the hill. About a half mile up the road is a gated road on the left, park there and walk in.
Upper Hungarian Falls
 Upper Hungarian Falls in the spring after most of the snow has melted.
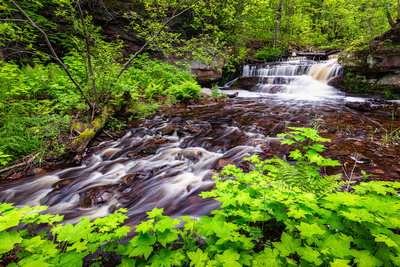
 Upper Hungarian Falls in early June after a few days of heavy rainfall.
Small Drop
Just above the middle falls there is a small unnamed drop
Middle Hungarian Falls
Middle Hungarian Falls in the Spring
Lower Hungarian Falls
The start of the lower drop. It's a 50 to 60 foot drop from here.